Photographing at Car Shows: Tips for Clean, Professional Images
How to get clean, professional photos at car shows and concours events: timing, dealing with crowds and ropes, indoor lighting, reflections, lenses and settings.

Car shows put dozens or hundreds of interesting cars in one place, but they’re also full of people, ropes, signs, cluttered backgrounds and difficult light. The difference between snapshots and clean, professional images comes down to timing, angles and patience. This guide covers outdoor shows, concours events, auctions and indoor exhibitions.
Types of shows
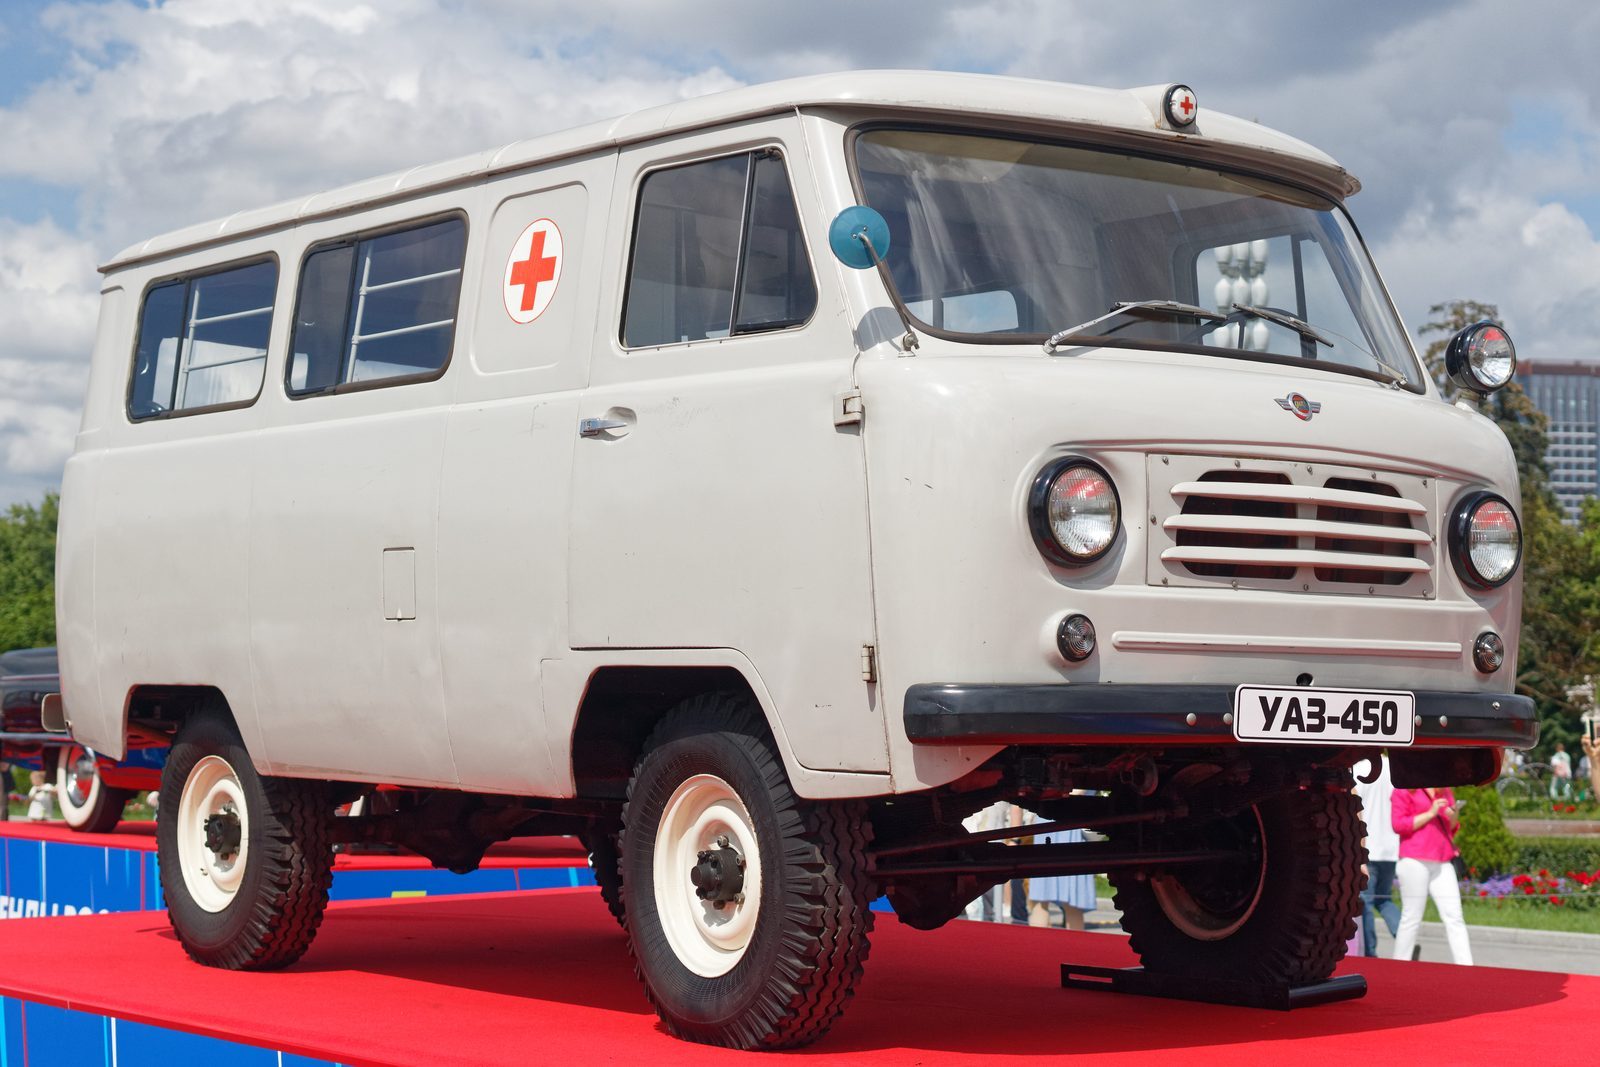
- Local shows and club shows: informal, often outdoors, with easy access to cars and owners.
- Concours d’elegance: judged shows of rare, well-prepared cars, often on a lawn or golf course. In the US, well-known examples include the Pebble Beach Concours during Monterey Car Week and The Amelia in Florida.
- Collector car auctions: cars are often on display for viewing before they cross the block, such as at Barrett-Jackson in Scottsdale.
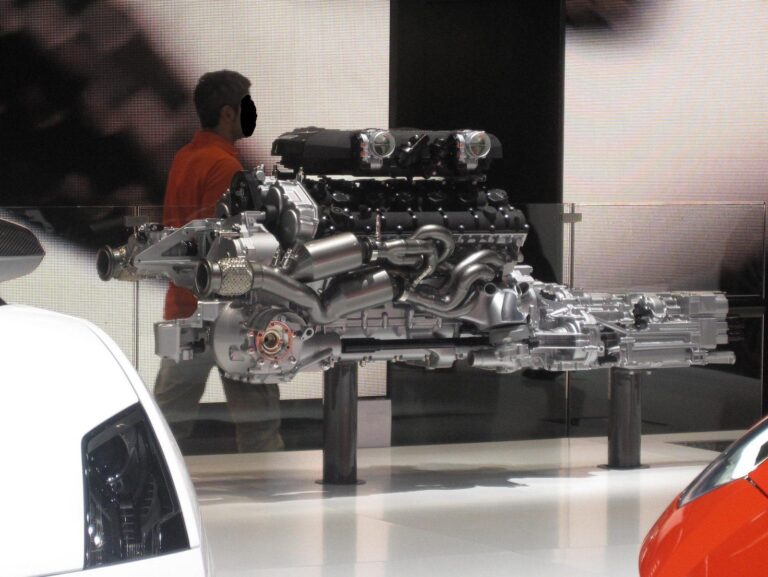
- Indoor auto shows: manufacturers’ stands with new models, typically under mixed artificial light.
Dates and access rules change every year, so check the official event website before you go, especially for camera restrictions and ticket types.
Timing is everything
The best time to photograph a show is when the crowd is smallest. That’s usually:
- Early morning, as the show opens or while cars are arriving. Many concours events have a dawn arrival when cars drive onto the field, which is a great opportunity.
- The end of the day, when spectators leave and cars depart.
- Press or preview days, if you have access.
Morning and late afternoon also have the softest outdoor light, while midday sun creates harsh reflections and dark shadows.
Dealing with crowds
- Wait for gaps. People move, and a few seconds of clear view is enough.
- Use a longer lens to isolate the car or a section of it.
- Get low. A lower angle can hide feet and legs behind the car.
- Shoot details. When a full-car shot is impossible, focus on badges, lights, wheels, emblems, interiors and textures.
- Use multiple exposures. With a tripod (if allowed), take several frames and remove people in editing using a median stack or manual masking.
Ropes, signs and clutter
Many shows have ropes, stanchions, information boards and other cars in the background. A few tips:
- Change your angle until the rope or sign is hidden behind the car or out of frame.
- Use the rope as a foreground element, blurred with a wide aperture.
- Remove small distractions in editing, but don’t remove anything that changes the car itself.
- Choose backgrounds that are simple: hedges, grass, dark walls or the sky.
Handling reflections
Paint, chrome and glass reflect everything around them, including you and the crowd. A circular polarizing filter is the most useful tool at a car show. Rotate it to control reflections on the windshield and paint. Remember that a polarizer works best at certain angles to the light and can make some parts of the car look flat if overdone.
Your own position also matters. Move until the reflections on the car show something clean, such as the sky or a dark area, instead of a crowd or a bright sign.
Indoor shows
Indoor shows bring mixed lighting, dark halls and bright spotlights.
- Shoot RAW and correct white balance later.
- Raise ISO rather than using slow shutter speeds handheld. Modern cameras handle ISO 3200-6400 well.
- Use a fast prime lens (35mm or 50mm f/1.8) for low light.
- Avoid on-camera flash, which creates hard reflections on paint and is often not appreciated.
Lenses and settings
- 24-70mm: the most versatile focal range for shows.
- 70-200mm: for isolating cars and details from a distance.
- Wide-angle (16-35mm): for interiors and dramatic close-ups, but beware of distortion.
- Fast primes: for low light and details.
For static cars, aperture priority at f/5.6-f/8 keeps the whole car sharp, while f/2.8 or wider isolates details. Our guide to the best lenses for car photography explains each focal length in detail.
Composition for show cars
- Front three-quarter view: the classic car angle, showing the front and side.
- Turned wheels: if the owner is present, ask whether the wheels can be turned so the face points toward you.
- Camera height: waist or headlight height usually flatters a car more than eye level.
- Details and stories: period license plates, original stickers, documents and trophies give context. Our guide to classic car photography covers telling a car’s story.
Etiquette at shows
- Don’t touch cars or lean on them.
- Keep your camera strap and bag away from the paint.
- Check the rules on tripods, monopods and flash before you set up.
- Ask owners before opening doors or photographing interiors.
- Be patient with other photographers; take turns at popular cars.
Owners are often happy to talk about their car. A short conversation can lead to better angles, access to the interior or the story behind a restoration.
Identifying and captioning cars
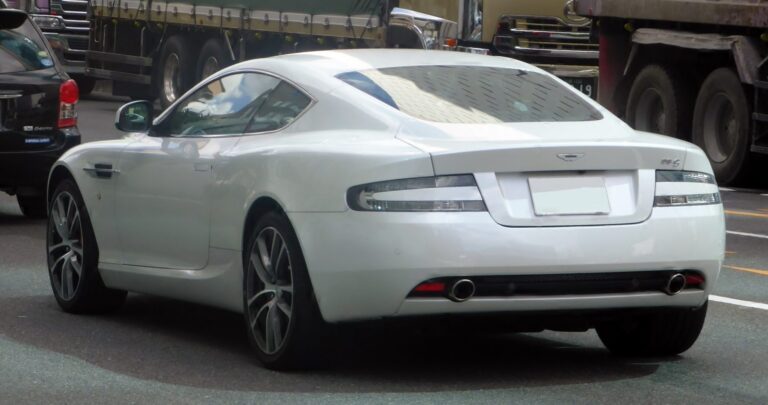
Show placards are useful but not always accurate. When you publish images, double-check model names and years. Our spotting guides for Lamborghini and the Aston Martin DB9 explain how to tell models apart.
If you enjoy shows, you’ll probably enjoy informal meets too. See our guide to exotic car runs and car meets.
Frequently asked questions
What is the best lens for a car show?
A 24-70mm zoom covers most situations. Add a 70-200mm for details and isolating cars, and a fast prime for indoor shows.
How do I avoid people in car show photos?
Arrive early or stay late, wait for gaps, use a longer lens, shoot lower angles or take several frames on a tripod and remove people in editing.
Should I use a polarizing filter at car shows?
Yes. A circular polarizer controls reflections on paint and glass. Rotate it while looking through the viewfinder until the reflections look right.
Can I use flash at a car show?
Often not, and on-camera flash creates harsh reflections on paint. Check the event rules and use a higher ISO or a fast lens instead.