Capturing Timeless Memories with Classic Car Photography
How to photograph classic cars so they look like themselves: period-correct locations, angles that respect the design, light that flatters old paint and chrome, and how to work with owners.

Classic car photography is about character more than speed. A 1960s Corvette, a pre-war Packard or an air-cooled Porsche carries its era in its proportions, its chrome and its paint. The photographer’s job is to show that honestly: the right angle for the design, light that respects old finishes, and a setting that doesn’t fight the car.
This guide covers planning, angles, light, details, locations and editing, plus the etiquette that keeps owners happy to hand you the keys again.
Start with the car’s story
Before you take a single frame, find out what makes the car special. Ask the owner, read the build plate or the restoration paperwork if they offer it, and look up the model’s history from a reliable source such as the manufacturer’s heritage department. Questions worth asking:
- Is it original, restored, restomodded or a survivor with patina? Each needs a different approach.
- What is the owner proudest of: the paint, the engine bay, a rare option, the interior?
- Is there a period detail that matters, such as an original dealer badge, a factory radio or a race history?
- Will the car be photographed driving, or only static? Some classics aren’t road-legal or reliable enough to keep moving.
The answers turn into a shot list. A concours restoration deserves crisp, even light and clean backgrounds. A barn find deserves texture, dust and honest wear.
Angles that respect classic design
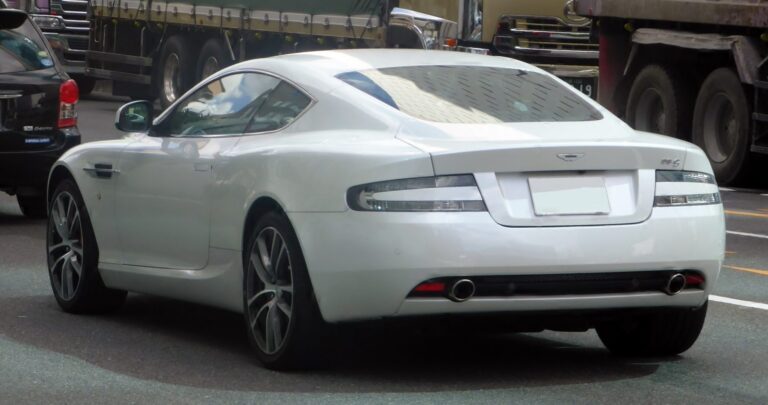
Older cars were often drawn to be seen from specific views. Long hoods, tail fins, split rear windows and chrome bumpers all reward angles that let them read clearly.
The front three-quarter
The standard hero angle, and for good reason. Stand at a front corner, roughly in line with the edge of the bumper, and shoot at about headlight height. Turn the front wheels slightly so the face of the wheel points toward the camera, not the tread. Always ask before you or the owner turn the wheel on a stationary car with no power steering; it’s heavy work and can scuff tires.
Low and long
Lower the camera to bumper or hubcap height to emphasize length and the line of the fenders. This works especially well on 1950s and 1960s American cars and long-hood GTs. Avoid going so low that the car looks distorted.
The side profile
A straight side view shows proportions: wheelbase, overhangs and roofline. Use a short telephoto (85-135mm) from a distance to keep the lines straight. Center the camera on the middle of the car and level it carefully. Even a slight tilt is obvious with long, straight trim.
The rear three-quarter
Tail fins, round tail lights, ducktails and rear haunches all look best from here. It’s often the most overlooked angle and the one owners love.
Lens choice
Wide-angle lenses close to a car exaggerate the nearest part. That can be fun for an aggressive look, but it rarely suits classic proportions. A 35-70mm range covers most static work; 85mm and longer flatten the perspective and suit profiles and tight details. See our full breakdown of the best lenses for car photography.
Light for old paint and chrome
Classic finishes behave differently from modern clearcoats. Single-stage paint can look flat or chalky in harsh light. Chrome reflects everything, including you.
- Soft light is your friend. Overcast days, open shade and the hour after sunrise or before sunset give smooth highlights along the body lines.
- Avoid midday sun when you can. It creates hot spots on chrome and deep shadows under fenders.
- Use a circular polarizer. Rotating it controls reflections on paint and glass. You won’t remove all reflections; aim to place them where they shape the body.
- Watch the reflections in chrome. Move yourself, your tripod or bright objects out of them. A dark jacket helps.
- Blue hour is ideal when the car has period lights. Switch on headlights or parking lights and expose for the sky.
For night work with controlled light, read our guide to light painting cars.
The details that tell the story
Classic cars reward a detail set more than almost any other subject. Bring a lens that focuses close (a 50mm, a 90-105mm macro or a zoom with good close focus) and work through the car:
- Badges, hood ornaments and script lettering.
- Gauges, steering wheel center, shifter and switchgear.
- Wheel covers, wire wheels, knock-off spinners and whitewall tires.
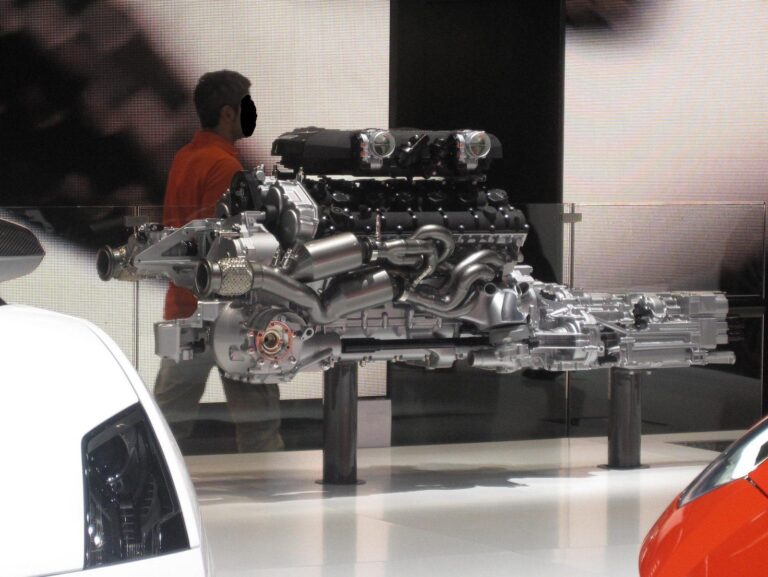
- Engine bay: carburetors, air cleaner decals, valve covers.
- Upholstery stitching, door cards, the dash material.
- Patina: worn leather, stone chips, a faded dealer sticker.
Shoot details at f/4 to f/8 depending on how much depth of field you want, and watch your own reflection in shiny surfaces. A detail set of eight to twelve images, mixed with the main angles, makes a complete story.
Choosing a location
The background should support the car, not compete with it. Three approaches work well:
- Period settings: old gas stations, diners, small-town main streets, brick warehouses and mid-century architecture. The Library of Congress has a free-to-use collection of historic car photographs that’s useful for researching period looks and settings.
- Neutral settings: open landscapes, empty parking structures, plain walls. The car carries the image.
- Contrast settings: a classic in a modern, minimal location can look striking, but it needs a strong idea behind it.
Scout the location at the time of day you plan to shoot. Check the background for trash cans, modern signs, power lines and other cars. Get permission for private property and check local rules for public places; some cities require a permit for commercial shoots with equipment, while casual photography from public space generally does not need one.
At shows and concours events
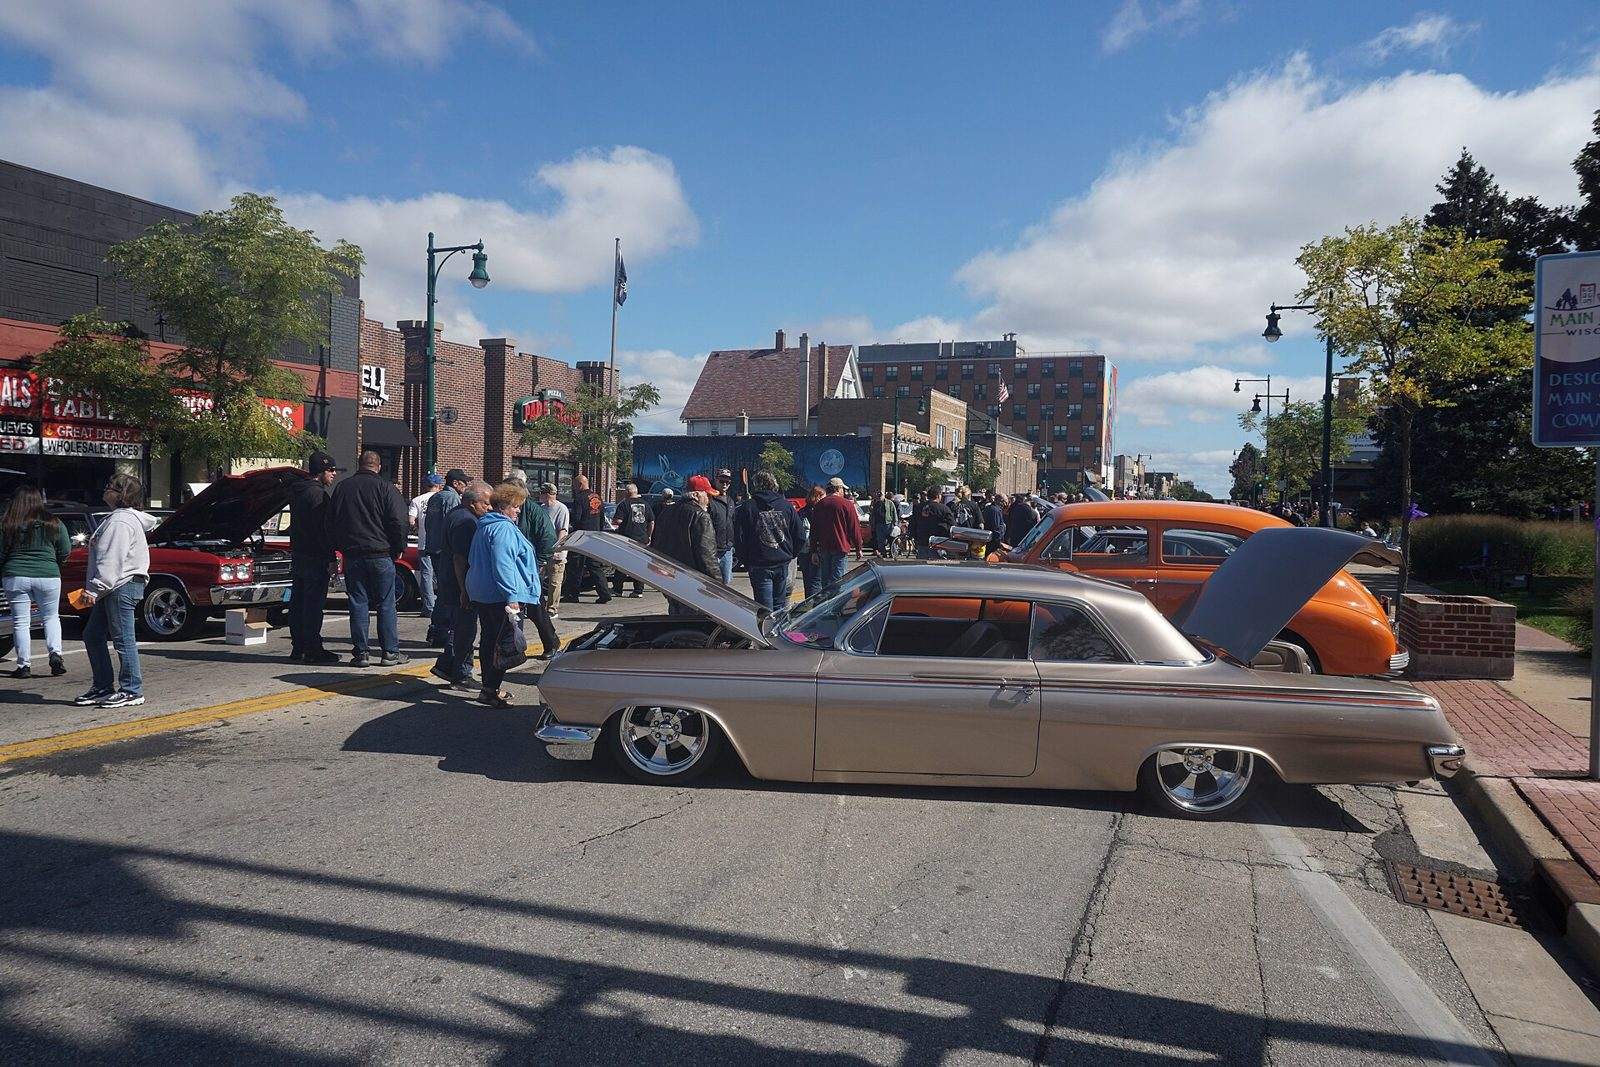
Many classic-car images are made at shows, where you can’t move the car or control the light. Work the edges of the day, when crowds are thin, and use a telephoto from a distance to isolate one car from the field. For a full approach, read Photographing at Car Shows. Big US events, such as the Pebble Beach Concours d’Elegance during Monterey Car Week in August or the Amelia Concours in March, draw large crowds. Arrive early and check each event’s guidance on photography.
Working with owners
Classic owners are generous with their cars, and they’re also protective. A few rules keep it that way:
- Never touch the car without asking. Not the paint, not the door handle, not the steering wheel.
- Keep camera straps, zippers and belt buckles away from paint. Wear soft clothing.
- Let the owner open doors, the hood and the trunk.
- Ask before you move anything: floor mats, a show board, a parked bicycle.
- Share the images afterward and ask how they’d like to be credited.
Owners often make the best portrait subjects. A photo of a person with the car they spent years restoring captures something a car alone can’t. If you plan to use that image commercially, get a signed release first. Our guide to classic car portraits covers owner shots in detail.
Editing for a classic look without faking it
It’s tempting to add heavy grain, sepia or a vintage filter. Used lightly, a film-like grade can suit a classic. Overdone, it hides the car. A few guidelines:
- Get the paint color right first. Owners know their color; if the car is a factory shade, compare with the owner’s documentation.
- Control highlights on chrome so they keep detail.
- Straighten verticals and horizons. Long trim lines make tilt obvious.
- Remove distracting dust spots and litter, but don’t retouch away genuine patina without the owner’s agreement.
- If you add grain or a warm grade, apply it to the whole set so it looks consistent.
A simple classic car shot list
- Front three-quarter at headlight height.
- Rear three-quarter.
- Side profile with a short telephoto.
- Low front view emphasizing the grille and bumper.
- Interior from the open door, and a dash detail.
- Engine bay, if the owner agrees.
- Six to ten details.
- Owner with the car.
- One environmental wide shot showing the setting.
Frequently asked questions
What is the best time of day to photograph a classic car?
Early morning, late afternoon and overcast days give soft light that flatters old paint and controls reflections in chrome. Blue hour is excellent if the car’s lights work.
What lens is best for classic car photography?
A 24-70mm zoom covers most angles. Use 85mm or longer for side profiles and to compress the background, and a lens that focuses close for badges and details. Avoid very wide lenses up close unless you want distortion.
Do I need permission to photograph someone’s classic car?
Photographing a car visible from a public place is generally lawful in the US, but asking is good etiquette, and you’ll get better access. For commercial use, particularly with the owner in frame, get a signed release.
Should I use a polarizing filter on classic cars?
Yes, in most cases. A circular polarizer helps control reflections on paint and glass. Rotate it while watching the effect, since too much polarization can make paint look flat.